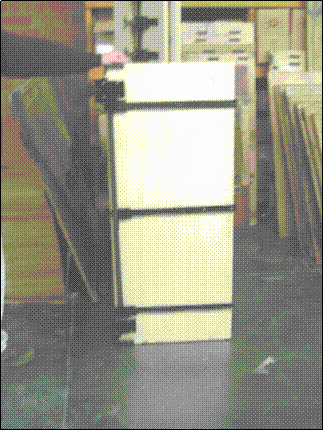
Preparing Interior Panel Before Installing in Case for Euro Full Overlay Doors
I. Interior Panel with Pocket Door Slide System and Panel Rollers installed.
Step 1: Center the system on the end panel. Install top slide (the one with the white marking) first and screw on completely, parallel to the top of the partition with the front of slide flush to the front of the partition.
Step 2: Pull the bottom slide flush to the front of the partition, then slide the metal bar all the way forward and push back just enough to install screw in the first hole. Then slide the bar all the way to the back of the partition, and install a screw approximately 5″ from the front of the partition through the hole on the slide. Then pull the bar forward 1″ from the back and insert a screw in the back hole.
Note: Properly installed, the top slide with the white mark will have a spring in it (the slide head will not come all the way forward on the top slide). This is the feature that makes the system run level. Any adjustment for this spring will be made after the door has been hung. (use #6 x 5/8″ Flat Head Screws).
II. Installing Panel Rollers
Step 1: Install the panel rollers at the top and bottom of the interior panel, flush to the front. These are used to protect the doors from the slides.
III. Installation of Interior Panel and Door
Checklist before installing partition:
Slide system installed with a spring in the top of system.
Roller systems installed.
Felt dots positioned on end panel, one above the top slide and the other at the bottom of the case, ½” from the front of the panel. (picture B)
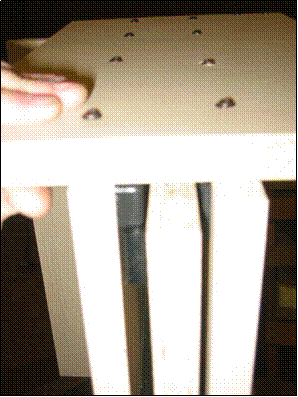
Picture A
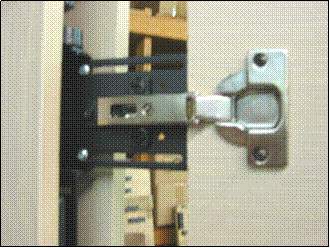
Picture B
Step 1: Use the interior panel to form a 1 ½” pocket. The front of the panel should be recessed ¾” into the case. (Picture A)
Step 2: The pocket door system is shipped in the out position for easy hanging and adjustment of the doors. (Picture B)
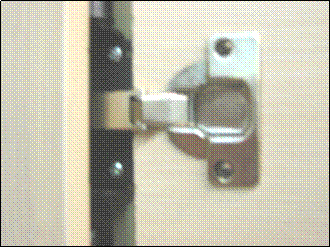
Step 3: Fasten the door to the hinges and make any necessary adjustments. (Picture D)
Step 4: Loosen the four screws on the horizontal adjusting plates, and slide them all the way in and re-tighten screws. (Picture C)